Whether you’re aiming to create a more immersive experience, emphasize key points, or simply add a touch of creativity, incorporating music into your PowerPoint slides can elevate your content and captivate your audience. The process of adding music to PowerPoint is both straightforward and effective. Here, we will walk you through the steps of three different ways to add music to PowerPoint presentations so that your presentations not only look impressive but sound amazing too.
Considerations When Adding Music to PowerPoint
- The Right Tone
Adding music to PowerPoint is easy, but first, think about the type of song that will fit your presentation. Consider the tone and purpose of your slides, and select music that complements your message. Ensure that the chosen track enhances the overall atmosphere without distracting from your content.
2. Where to Find Music
If you don’t have a track at the ready, consider downloading music from sites that offer royalty-free options, or recording your own audio. Consider:
- Free Music Archive (FMA)
- Converting YouTube videos to MP4s from their own free audio library
- Bensound
3. Ensure Compatibility
PowerPoint supports a variety of audio formats, including MP3, WAV, and MIDI. Make sure your chosen file is compatible with PowerPoint to avoid any playback issues. If your file is not in the right format, try converting it for free.
Excellent! Now that you have your audio ready, let’s add it to PowerPoint in one of these three ways:
Table of Contents
1. Add Music to PowerPoint Natively
Step 1: Add Music to PowerPoint
To add a song to your file, click Insert tab at your PowerPoint ribbon.
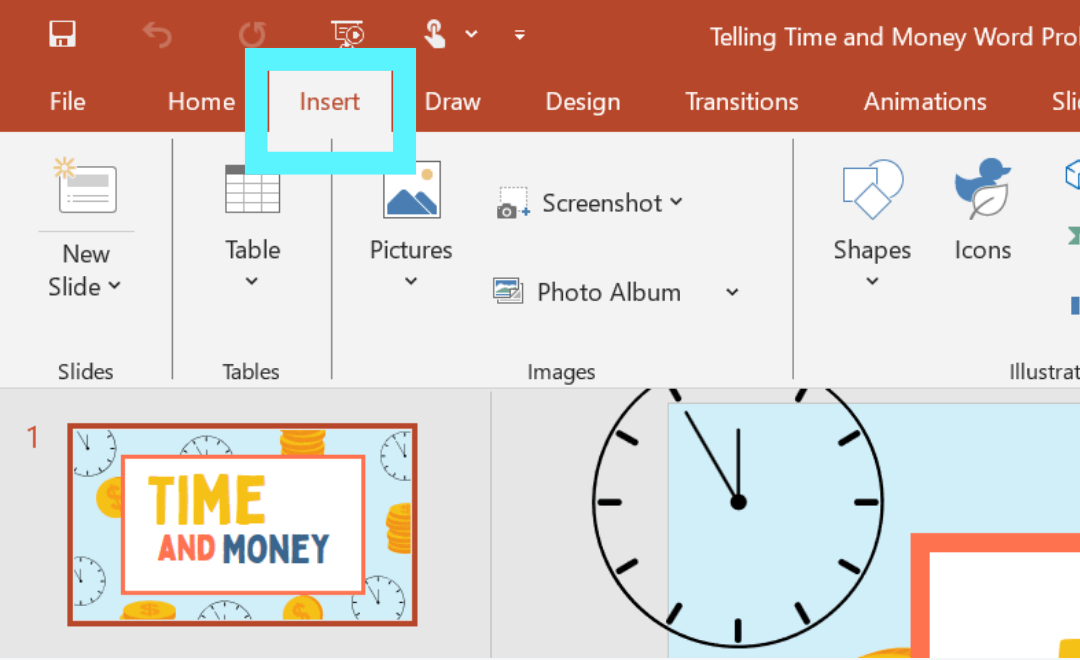
Then, in the Media section, click Audio > Audio on my Device.

Find the audio file on your device to insert.

Step 2: Adjust Sound
Now that the audio is added, let’s update the settings so that it plays in the background of your presentation.
Click on the audio file on your slide, then the Playback tab in the PowerPoint ribbon.
Select the Play in the Background setting.
Notice that the music will start automatically and the settings for Play Across Slides, Loop until Stopped, and Hide During Show are now turned on.

Step 3: Play in Slideshow
Try it out! Enter Slideshow and ensure that your music plays automatically.
To adjust the volume or other settings, head back to PowerPoint Edit Mode, explore the rest of the Playback section or change up the Speaker Icon in the Audio Format tab.

Step 4: Match Audio with Transitions (Optional)
If you are setting up a presentation to run automatically, like a photo slideshow, you might consider matching the sound with transitions in your presentation to move through the file seamlessly.
Before diving into the technical aspects, consider the flow of your presentation. Take note and identify key points, transitions, and the overall mood you want to convey. This understanding will guide you in how long to set each slide timing for.
For example, let’s say we want to have our slides show for 3 seconds each. To do this, click the Transitions tab, and under Advance Slide, check the After box.
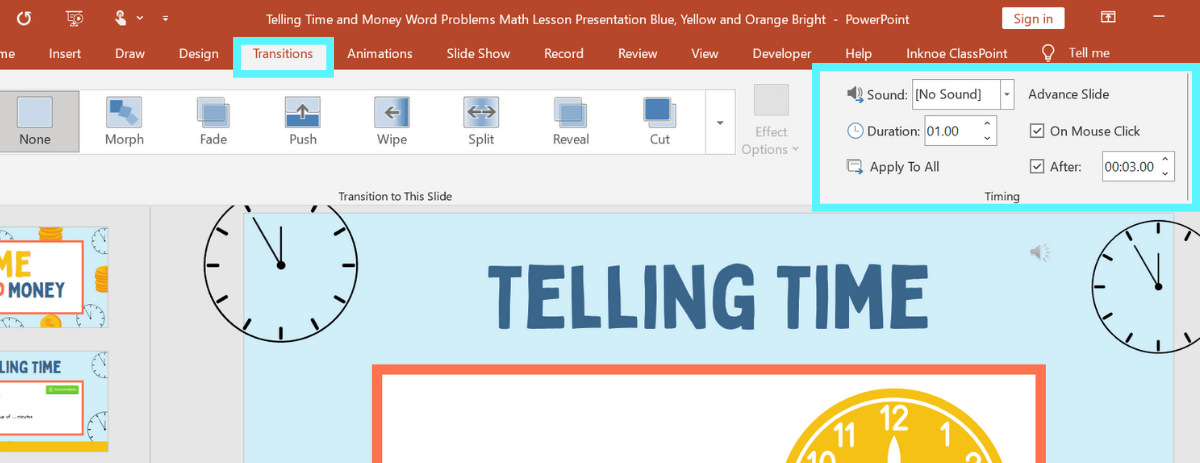
Then, specify a time. For our example, we can set the slide timing to 3.00 seconds. I’ll click Apply To All. So, each slide will play for 3 seconds and then advance. Test it out and adjust as needed according to the audio!
Step 5: Compress Saved File (Optional)
One important thing to note is that adding media files to PowerPoint makes your file size very large.
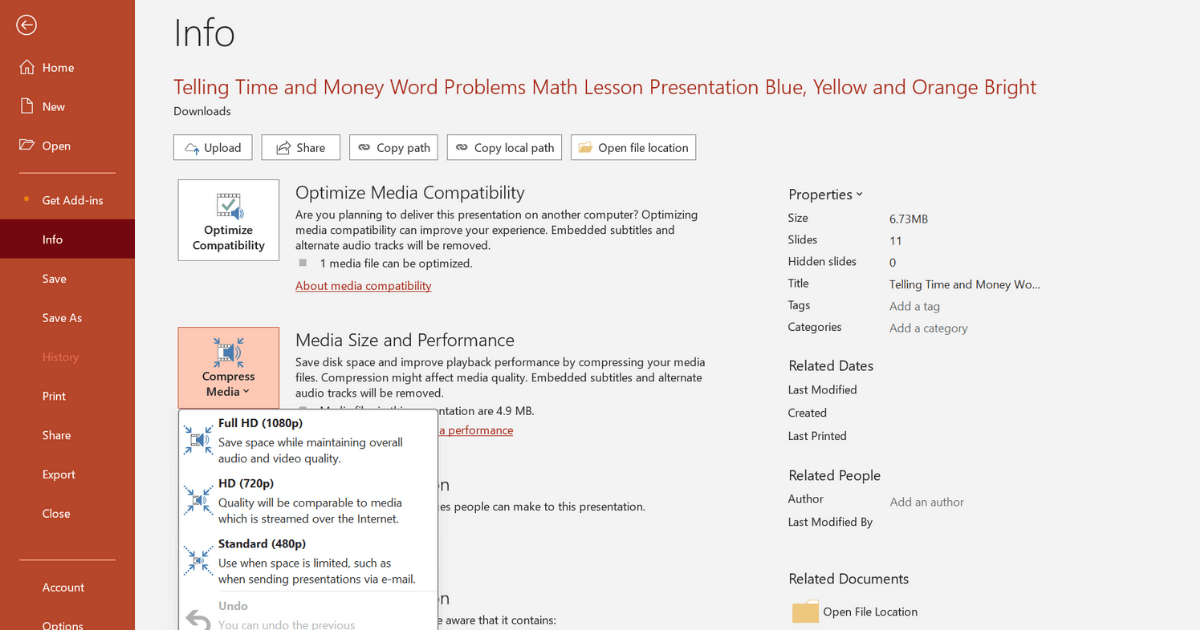
To reduce this file size, save the presentation, and click the File tab. On the Info tab, under Properties, you’ll see the file’s size.
To make the presentation file smaller and more manageable for sharing, click Compress Media, and choose a type of compression, in terms of quality.
2. Add Music to PowerPoint with Embedded Web Page
Adding music with an embedded web page or video has the benefit of allowing you full flexibility to add music to your presentation at anytime.
To effortlessly launch a live webpage within your PowerPoint and browse the web to access your audio, utilize ClassPoint’s embedded browser feature.

ClassPoint is a free interactive presentation tool that integrates right within PowerPoint. To use the embedded browser, download ClassPoint for free at classpoint.io and follow these steps:
Step 1: Start your PowerPoint Presentation
Open a PowerPoint presentation file and enter slideshow mode.
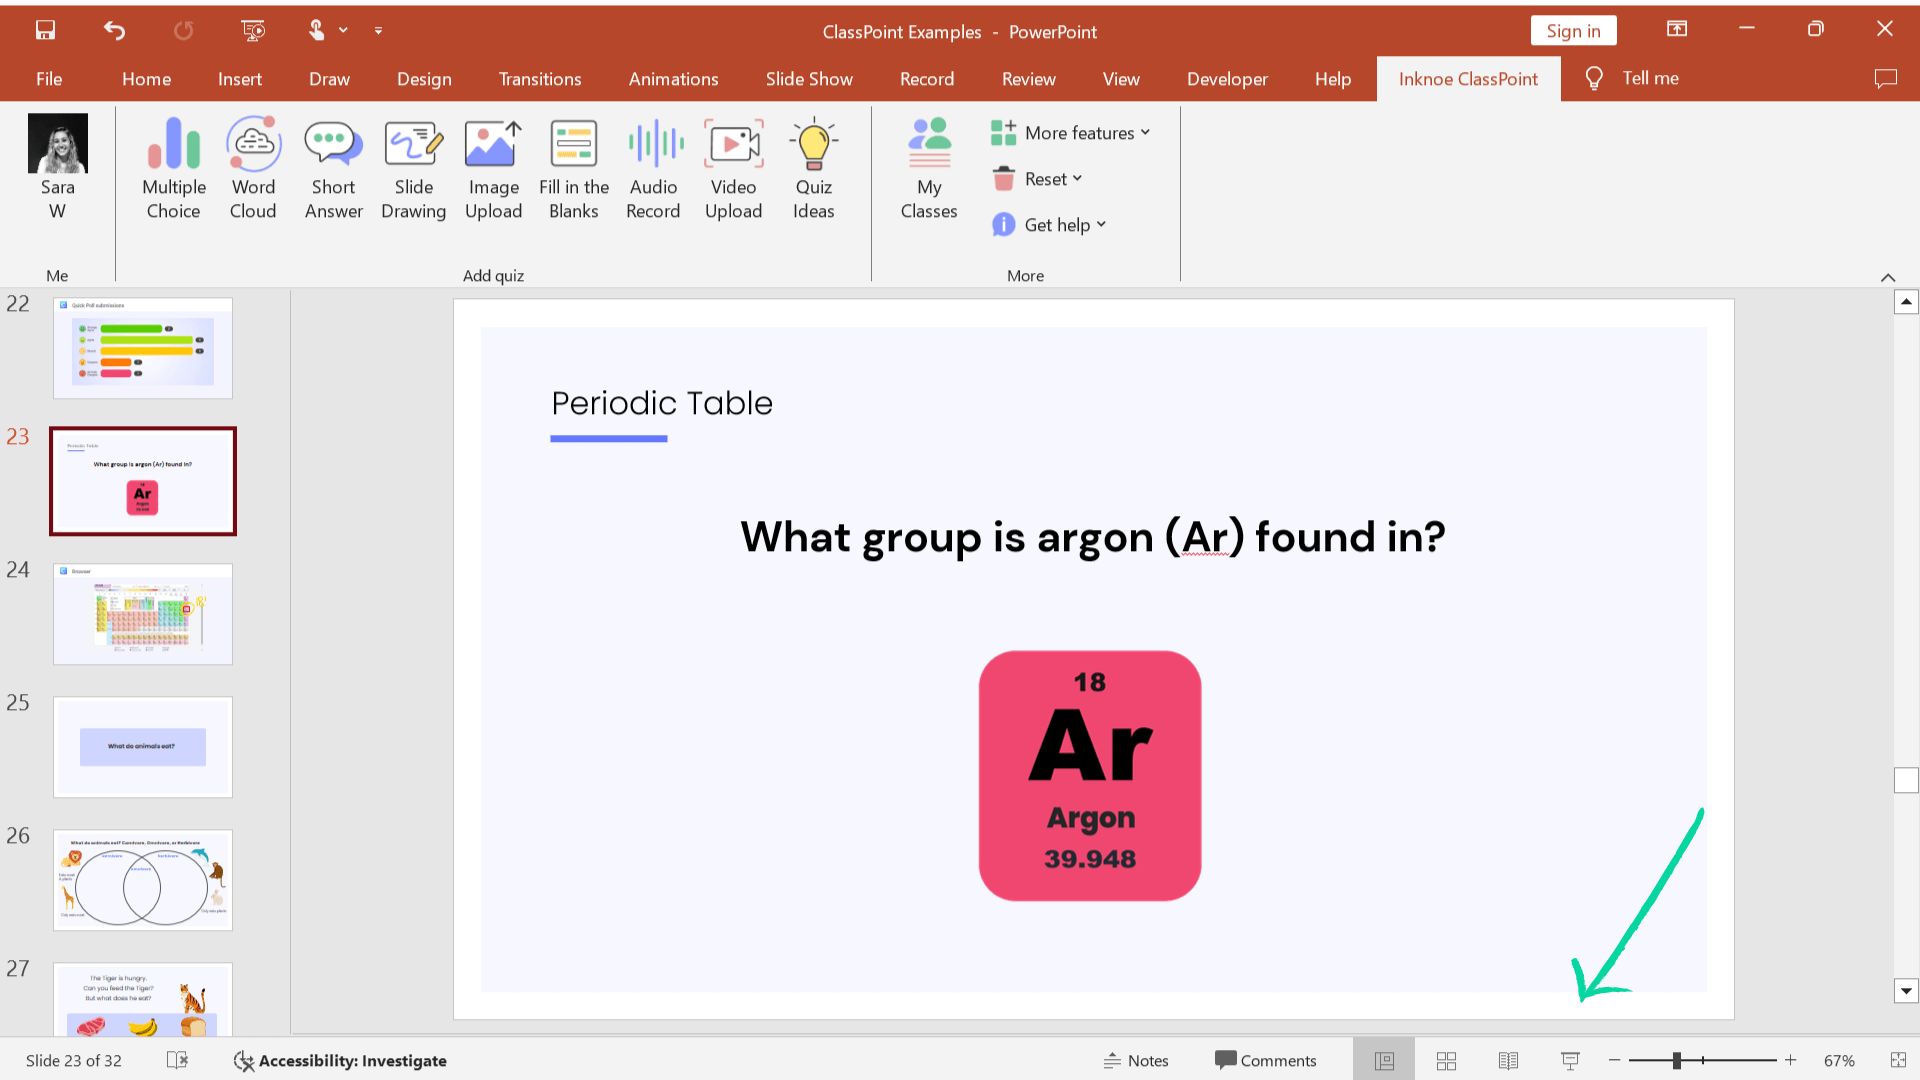
Step 2: Click the Browser icon on the toolbar
Click on the Embedded Browser icon at the bottom toolbar of your screen. (Make sure you have ClassPoint downloaded to your device to access the feature.)
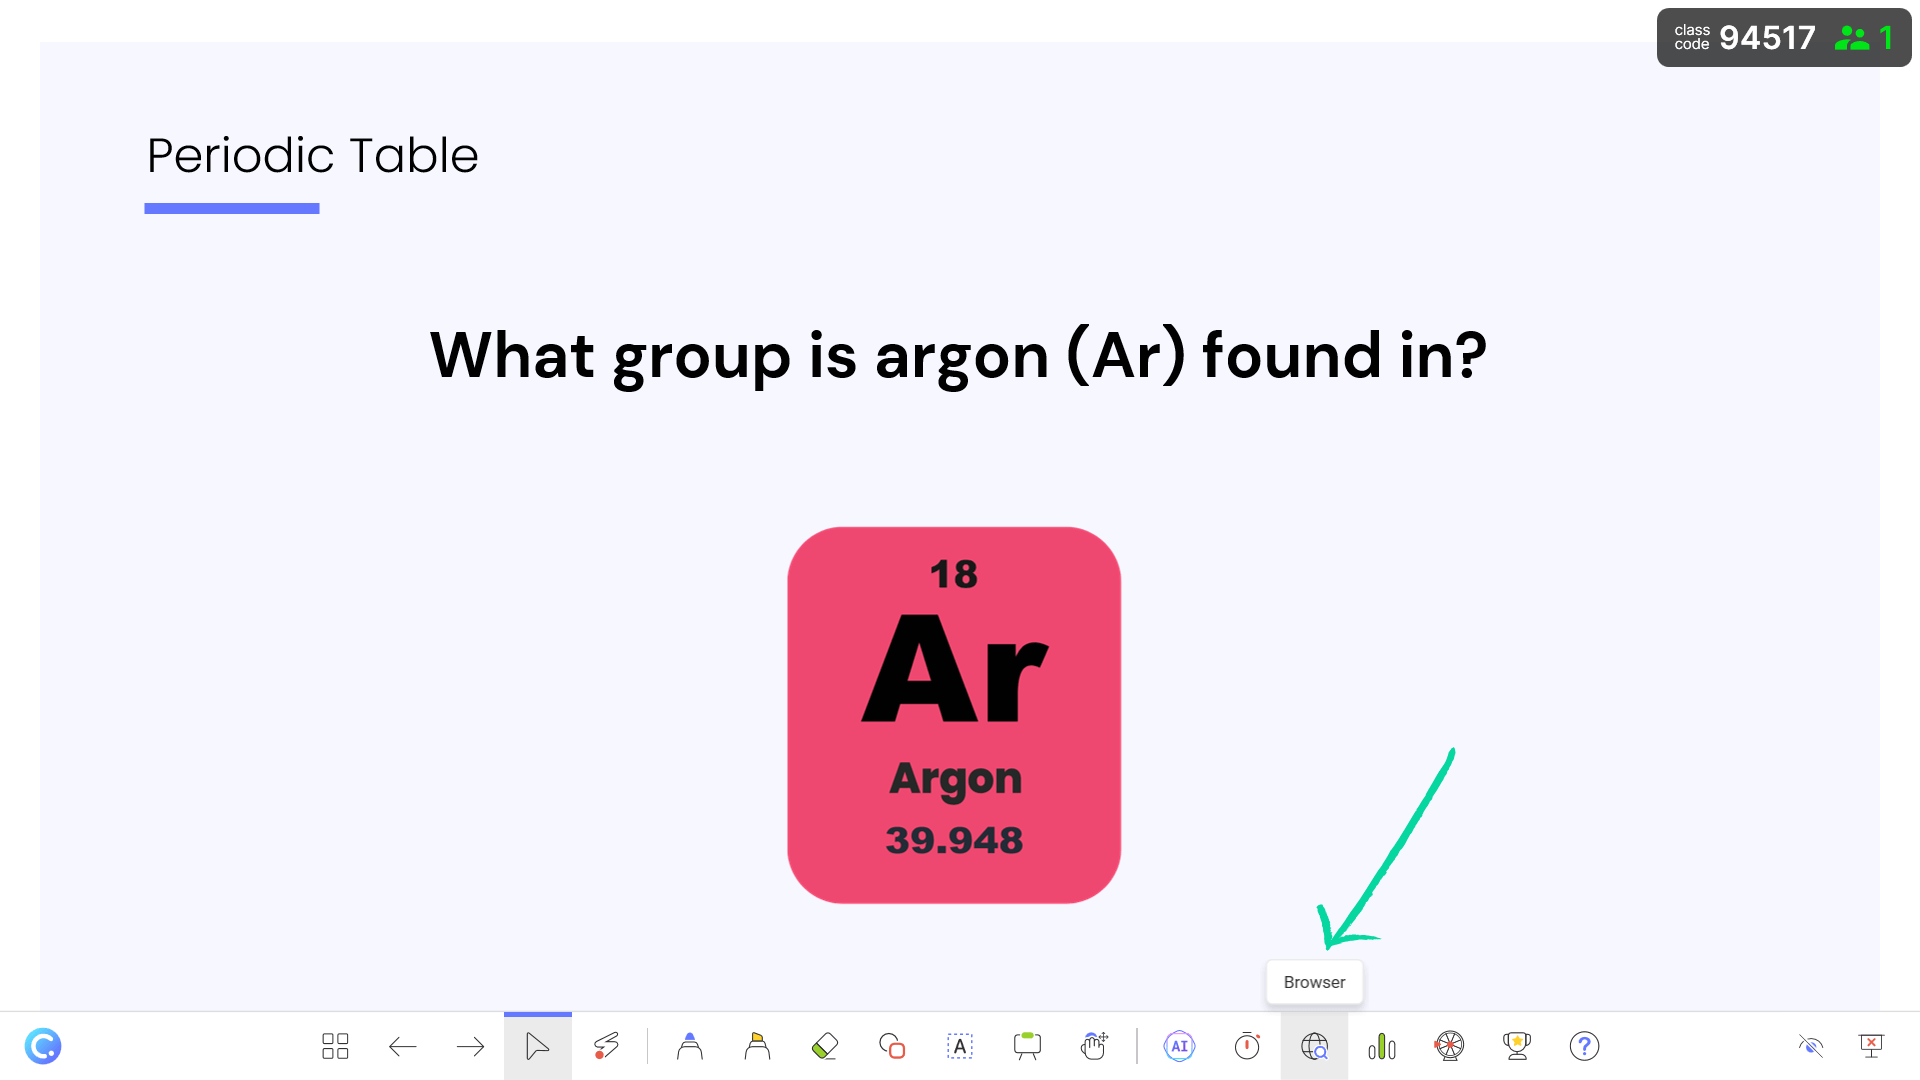
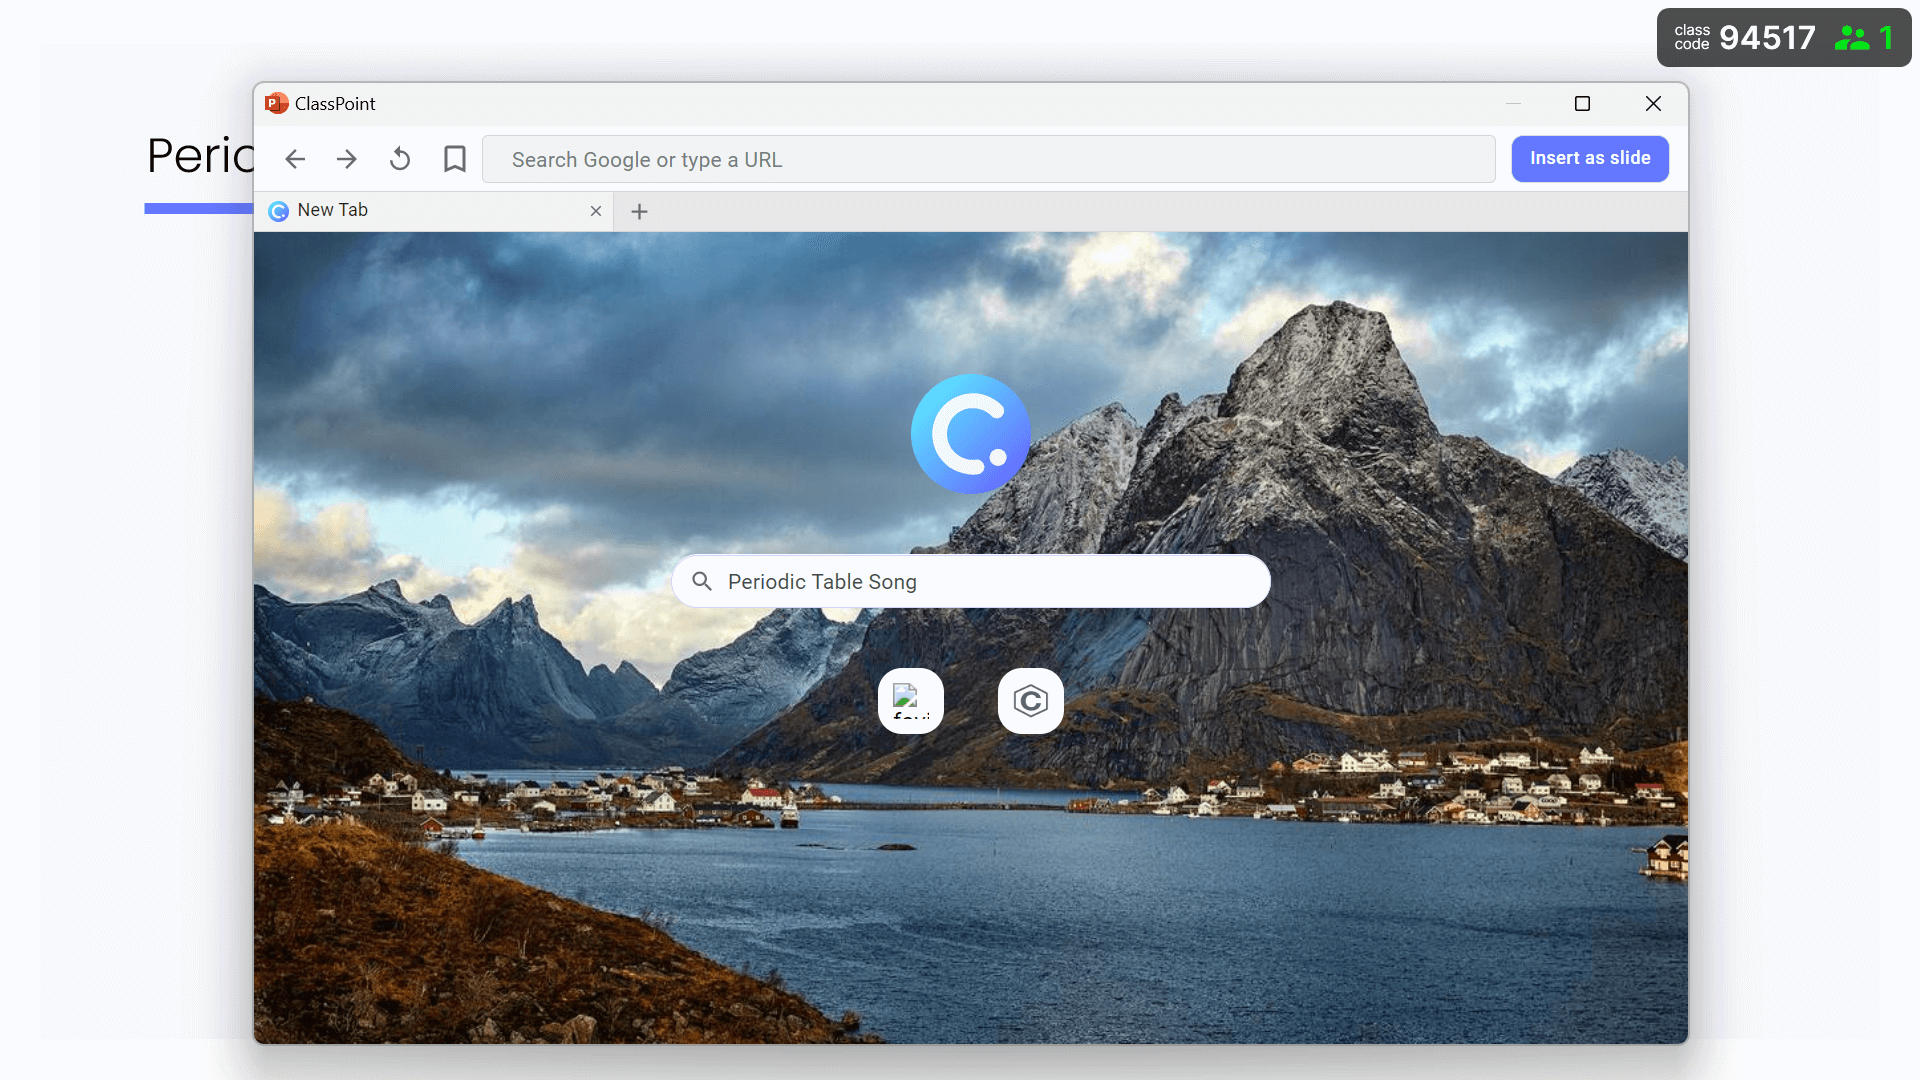
Step 3: Browse the web to find your music, video, or audio.
Browse the web as you usually do to navigate to any web page, music library, or YouTube, for instance, to find the desired music, video or audio file. You can then play the music or audio directly while in slideshow mode.
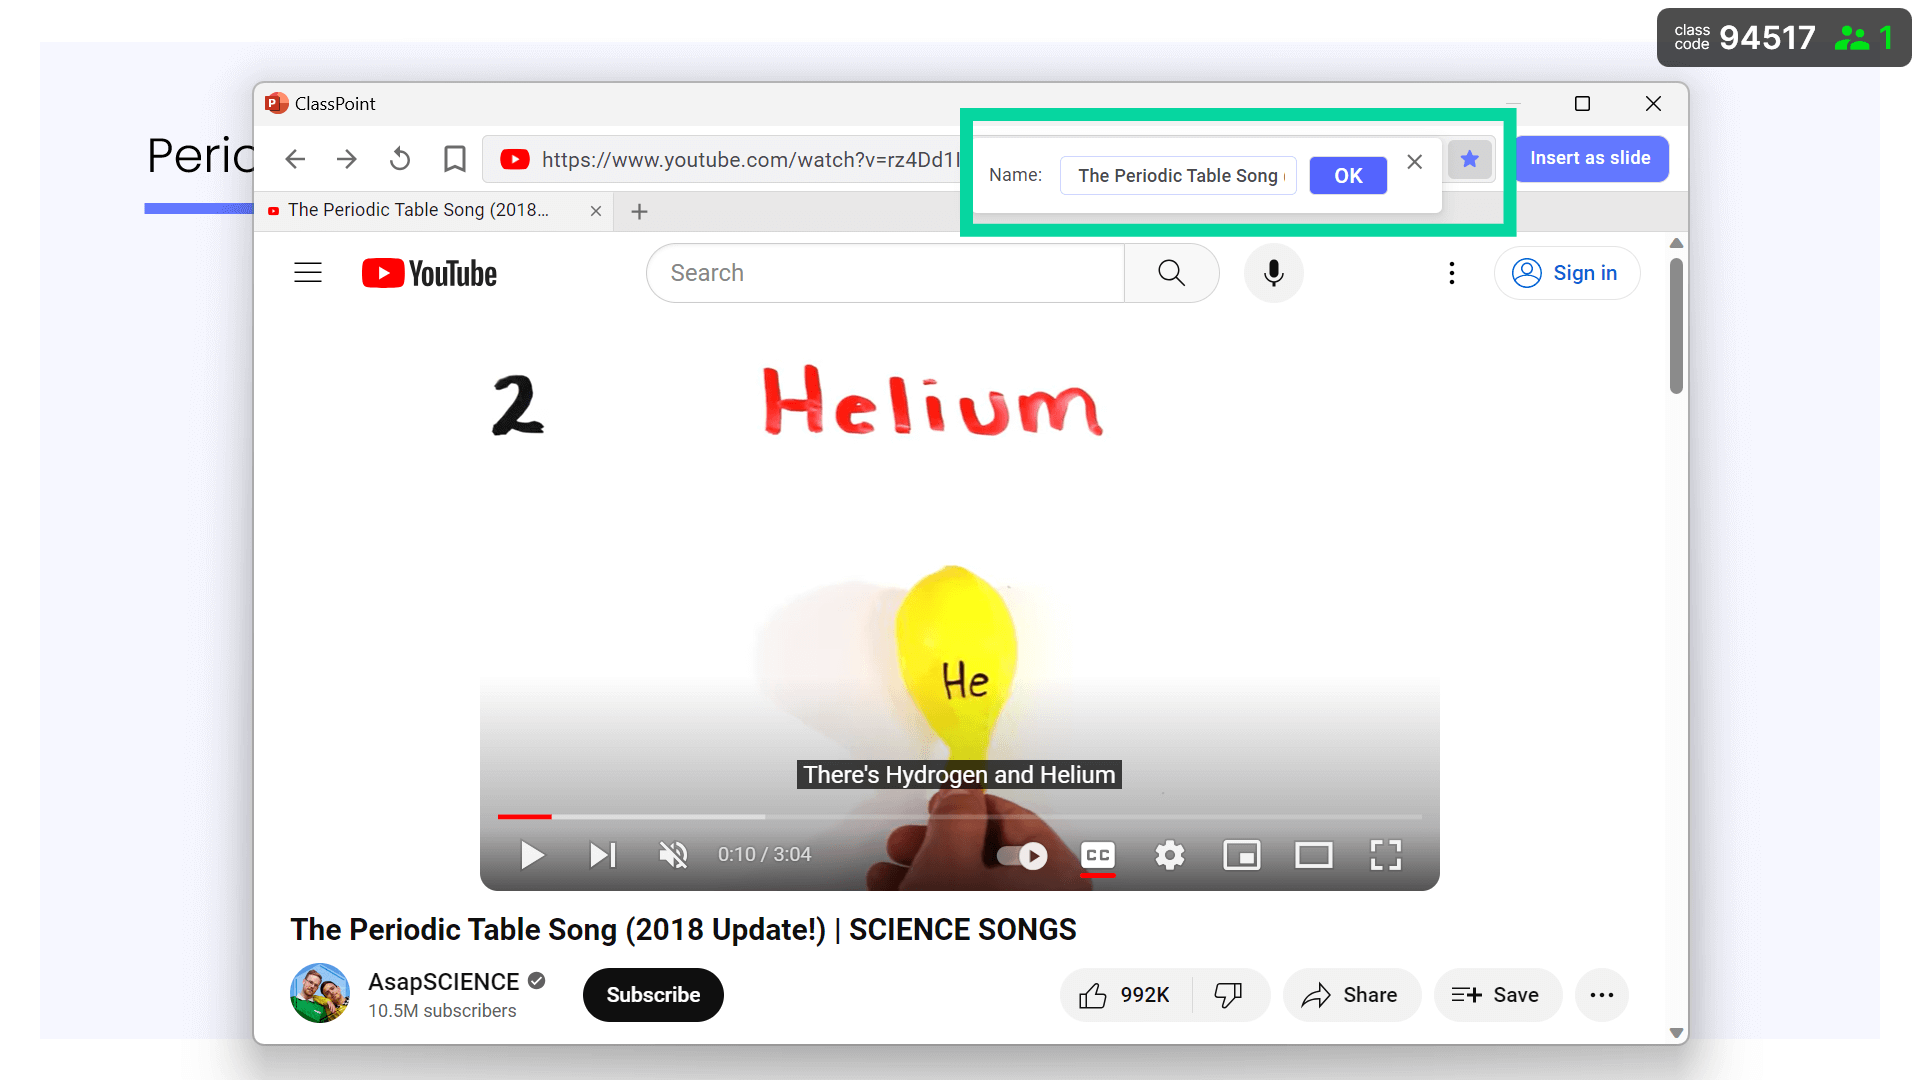
Step 4: Bookmark the page to listen later
Alternatively, you can bookmark the page to listen to the audio later.
Step 5: Easy access of bookmarked sites
To access the same audio file or web page that you have bookmarked, simply click on the Embedded Browser again when you enter slideshow mode the next time.
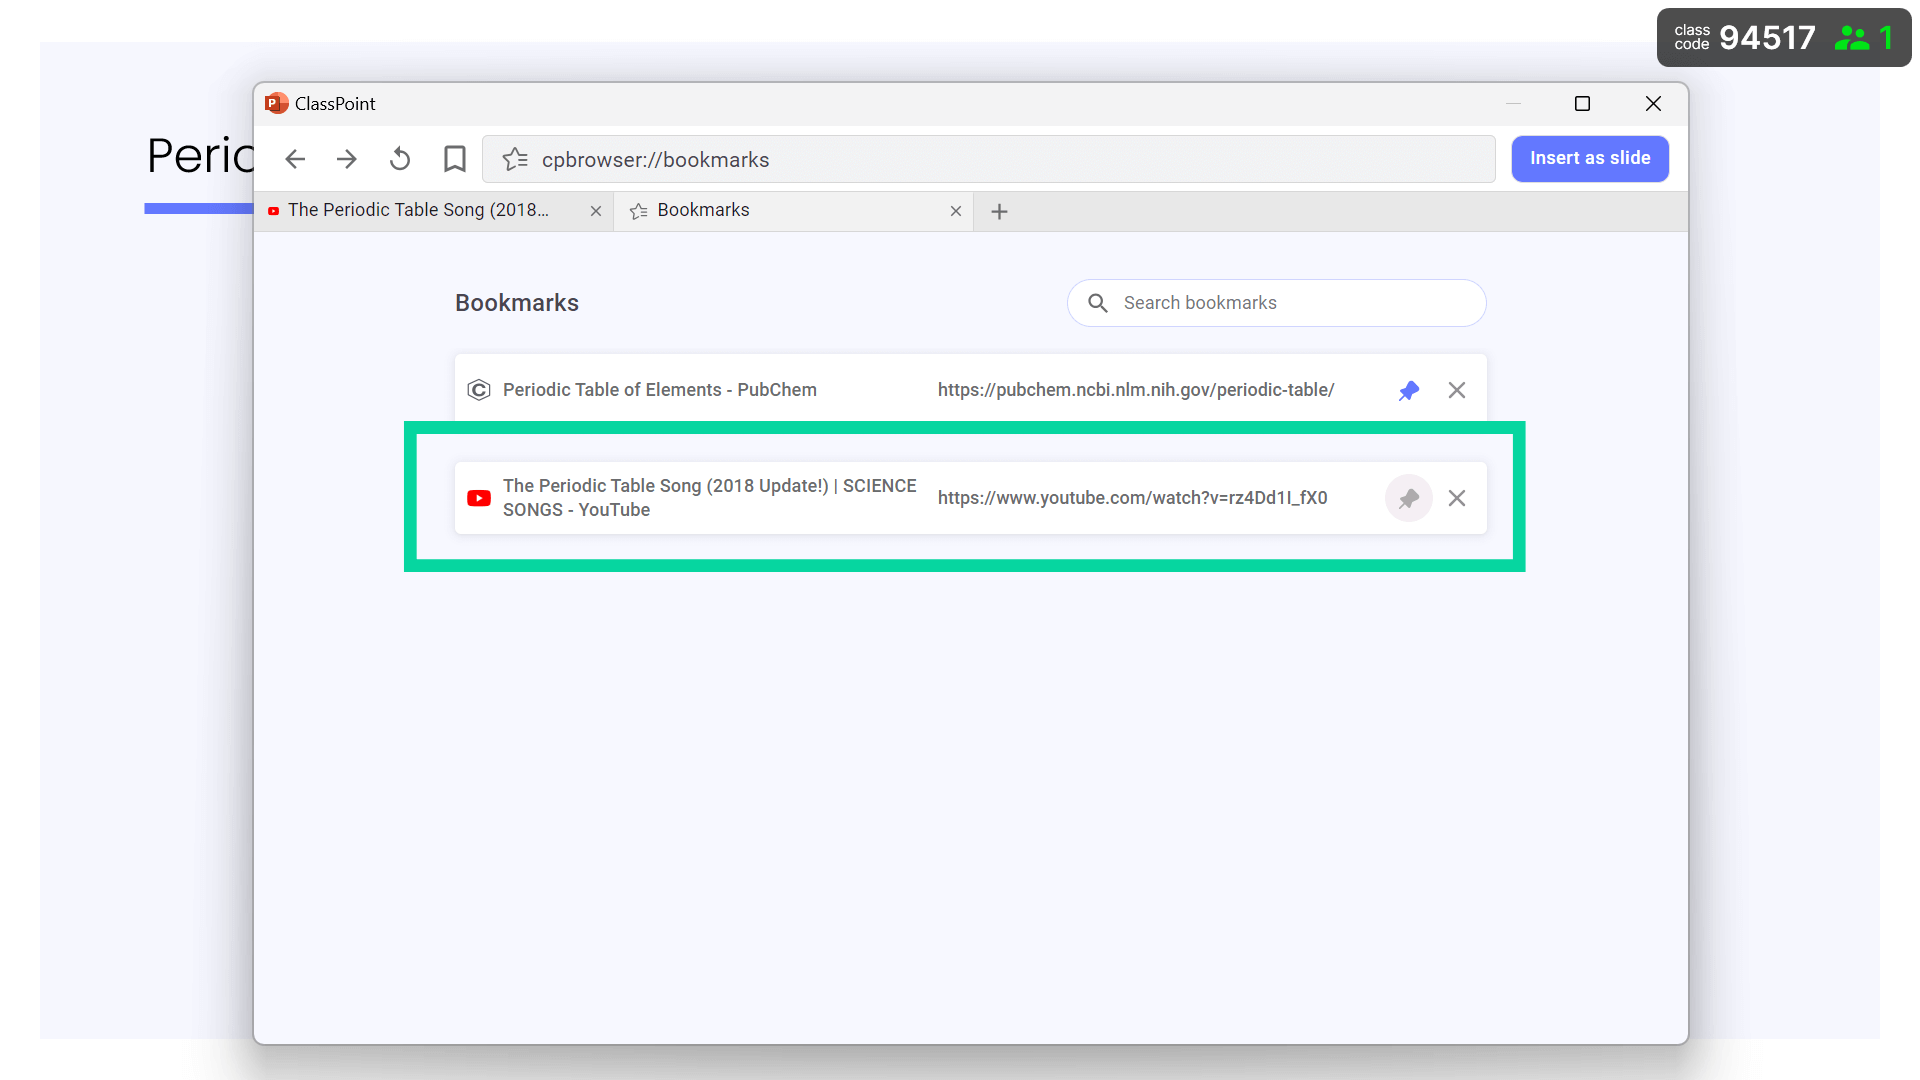
Now, you can find any audio to use in your presentation, at any moment, without having to leave your presentation.
Read more about different ways to use an embedded browser in your PowerPoint presentation.
3. Add Music to PowerPoint Collaboratively
This method allows you to receive audio or music submission from your audience to create a more collaborative and immersive presentation experience.
Perhaps you’re hosting an activity that demands verbal responses. Experience ClassPoint’s Audio Record to gather live audio inputs from all participants.

Step 1: Design your question
First, create a slide with a prompt or instruction to your audience on the kind of audio to upload.

Step 2: Add the interactive button
Next, add Audio Record from the Inknoe ClassPoint tab at your PowerPoint ribbon. (Make sure you have ClassPoint downloaded to your device to access the feature.) And adjust the settings at the side panel as needed.

Step 3: Accept Audio Input from Your Audience
During your slideshow, invite your audience to join your class using the class code (accessible at the top right corner of your screen by clicking at the class code or My Class at the bottom left corner of your screen) and their name at www.classpoint.app.

Step 4: Begin receiving responses
Click the interactive Audio Record button to begin receiving responses. Participants have the option to record audio live or upload existing audio files from their devices.

Step 5: Review responses.
Review responses by clicking the Playback buttons to hear the audio files submitted by your participants.

Pro Tip: Use different gamification features to further engage your audience with stars, levels and leaderboard.
By following these straightforward steps for each of the three options, you can effortlessly integrate music into your PowerPoint presentations, elevating them into immersive, multi-sensory experiences. To enhance engagement further and allow your audience to listen to their own audio, consider exploring ClassPoint and the Audio Record feature!